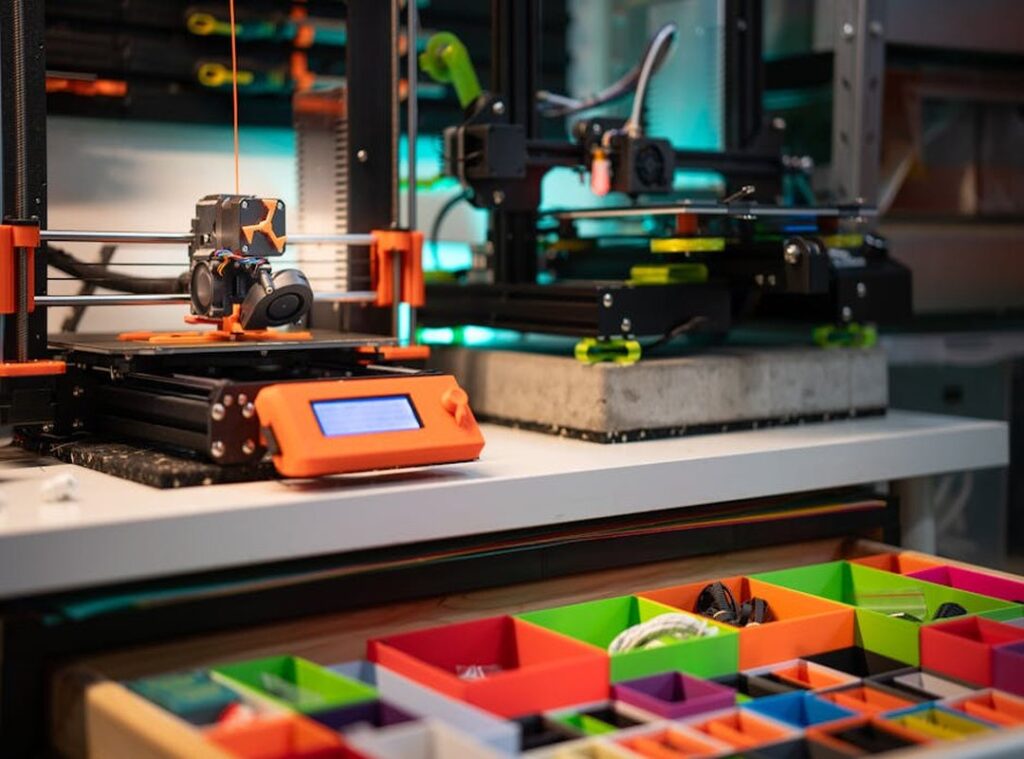
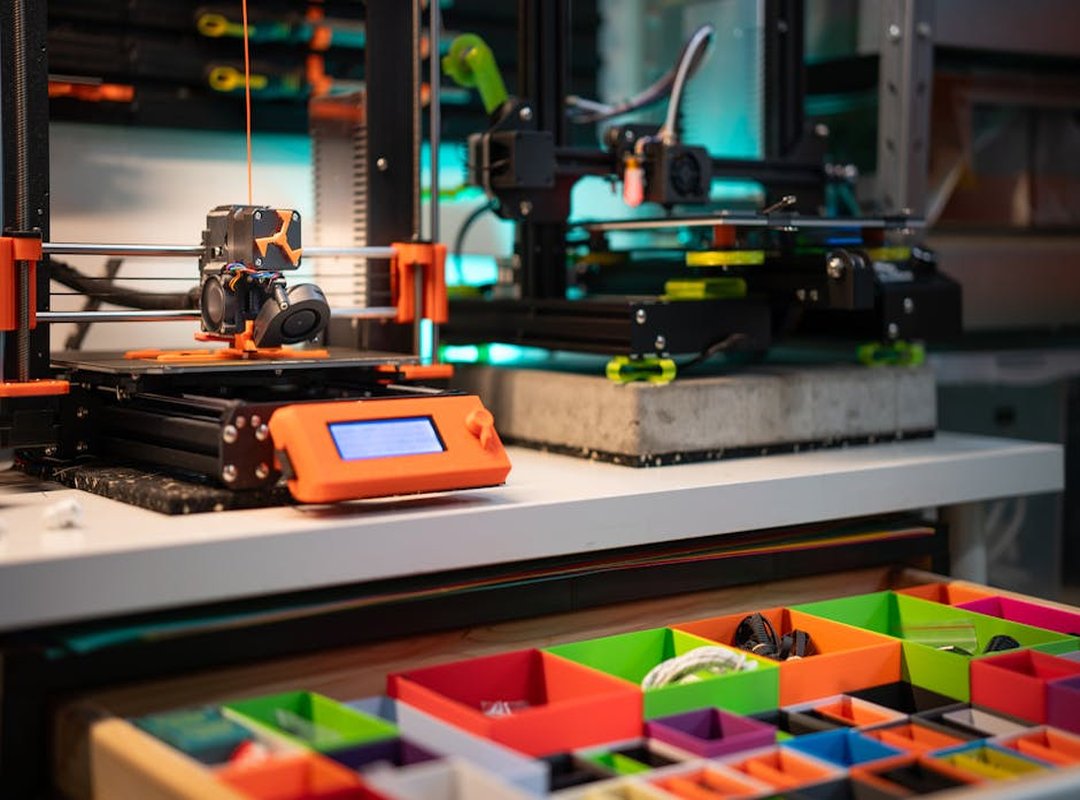
I bought a Tobeca 3d Printer because I was tired of guessing whether my next 3D printer would actually work.
You’re probably here because you’ve seen the name floating around and thought: Is this thing any good? Or is it just another cheap box that jams on layer three?
I’ve run ten different printers. Some lasted six months. One died during its first print.
(Yes, really.)
So when I saw the Tobeca, I didn’t just read the specs (I) printed with it. Every day. For weeks.
You want to know if it’s reliable. If it’s easy to set up. If it’ll handle your project without making you swear at 2 a.m.
That’s what this article covers.
No hype. No fluff. Just what the Tobeca does well (and) where it stumbles.
I’ll walk you through real features. Real noise levels. Real filament compatibility.
And yes. Real price versus what you’ll actually get.
You’re not buying a gadget. You’re buying time. Patience.
Confidence.
This isn’t a sales page. It’s a straight answer to one question: Should I buy this?
By the end, you’ll know exactly what the Tobeca can do for your next project.
The Tobeca 3D Printer Is Not What You Think
I bought a Tobeca because everyone said it was “education-friendly.”
Turns out that’s the least interesting thing about it.
It’s Spanish-built. Not German precision. Not Chinese scale.
Just honest hardware made by people who fix their own printers first.
Open-source? Yes (but) not in the way you’d expect. Most open-source printers dump you into GitHub and say “good luck.”
Tobeca ships with editable firmware and labeled wiring diagrams taped to the frame.
(Yes, actual tape.)
That aluminum build plate isn’t just thick. It’s removable without tools. You twist two knobs and lift.
No prying. No stripped screws. I’ve replaced mine three times.
Took less than a minute each.
The frame uses T-slot extrusions (same) kind used in real machine shops. Not plastic clips. Not glued corners.
You can bolt on lights, sensors, or a second extruder. No soldering. No firmware reflash.
Just bolts.
People call it “strong.” I call it unbreakable on purpose. It doesn’t hide complexity behind pretty software. It gives you access.
Then trusts you to use it.
You want plug-and-play? Get something else. You want to know how your printer actually works?
That’s why the Tobeca 3d Printer exists.
And no. It does not come with a glossy manual. It comes with a Sharpie-marked checklist on the back panel.
(Which I added to.)
What You’re Actually Getting
The Tobeca 3d Printer has a build volume of 220 x 220 x 250 mm.
That fits most functional parts, miniatures, and prototypes (no) more slicing models in half.
It handles PLA, ABS, and PETG without fuss. PLA prints slowly and sticks well. ABS needs an enclosure (you’ll warp it otherwise).
PETG? Stronger than PLA, less smelly than ABS (but) watch retraction settings or you’ll get stringing. (Yes, I’ve wiped that off three times.)
It uses a direct-drive extruder. That means better control with flexible filaments and less skipping on retractions. Bowden setups are lighter, sure.
But they choke on TPU. This one won’t.
Connectivity is USB and SD card only. No Wi-Fi. No cloud nonsense.
You load the G-code, hit print, and walk away. If you want remote monitoring, you’ll need a Raspberry Pi. And that’s fine.
It works with Cura and PrusaSlicer out of the box. No custom profiles needed. No weird firmware tweaks just to get layer height right.
You’re not buying a “smart” printer. You’re buying something that prints. Consistently.
Without drama.
Tobeca 3D Printer: Who’s It For?
I unboxed mine and printed in under an hour. No soldering. No firmware flashing.
Just plug in, load filament, hit print.
The innovative features of the printer are complemented by the unique design of the Tobeca Eavazlti, enhancing its overall performance and usability.
Beginners get clear on-screen prompts. The manual isn’t 87 pages long. There’s a real community on Discord.
Not just bots posting stock replies. (They actually answer questions.)
Experts like it because the frame is rigid. The hotend handles PLA, PETG, and TPU without drama. You can swap parts.
You can tweak acceleration. It doesn’t lock you out.
Is it for you? If you’re learning 3D printing. Yes.
If you run a school makerspace. Yes. If you sell custom phone grips on Etsy (yes.) If you need industrial-grade repeatability at $400 (no.) (That’s not what this is.)
The Tobeca Eavazlti has better bed leveling and quieter steppers than the base model. I upgraded after two months. Worth it.
Here’s how it breaks down:
| Feature | Details |
|---|---|
| Setup time | Under 60 minutes |
| Filament support | PLA, PETG, TPU, ABS (with enclosure) |
| Max print speed | 200 mm/s |
You want simple. You want reliable. You want room to grow.
That’s the Tobeca 3d Printer.
Mistakes I Made With My Tobeca 3d Printer
I ruined three prints before I leveled the bed right.
You will too.
I thought auto-leveling meant done. It doesn’t. I had to relearn how to use a piece of paper like it matters.
(It does.)
Filament sat in my garage for six months. It snapped mid-print. Moisture kills detail.
Store it sealed. Dry it if it’s been sitting.
I cranked the nozzle temp up to “make it stick.”
Then I got stringing, blobs, and warped corners. Start at the filament maker’s recommended temp. Adjust in 5° chunks.
My first fan duct cracked in week two. I ignored it until layer adhesion failed. Clean fans matter more than you think.
Check them weekly.
Slicer settings? I used the default Tobeca profile. Then swapped to a community one tuned for PLA at 210° and 60mm/s.
Big difference. Smoother walls. Less oozing.
I skipped cleaning the rod rails for eight weeks. The Y-axis started skipping steps. Wipe them down with isopropyl alcohol every month.
Don’t wait for failure to start maintenance. Do it on a schedule. Or after every 20 hours.
Your call.
I learned all this the hard way.
You don’t have to.
Get better cooling without the guesswork (grab) the Tobeca Eavazlti Fans they actually designed for this machine.
Your Next Print Starts Now
I know what you needed. A printer that just works. Not another headache disguised as a “smart” gadget.
You wanted something reliable. Something you could set up without reading three manuals. Something that didn’t quit halfway through your first print.
That’s why the Tobeca 3d Printer stands out. It handles real-world use (not) lab conditions or influencer lighting. The interface isn’t buried in menus.
The community answers questions fast. No waiting days for a reply.
You’re tired of guessing. Tired of buying, returning, restarting. This isn’t another maybe-it’ll-work machine.
So what do you do now? Go to their site. Look at the specs with your actual projects in mind.
Watch one real unboxing. Not the polished version.
Then join their forum. Ask the dumb question. Ask the specific one about your filament or bed leveling.
Someone’s already asked it.
You don’t need more research. You need to start. Hit print.
Visit Tobeca’s website today. Scroll down. Click “Get Started.”
Don’t wait for perfect.
Your first print is waiting.